This scenario was published in Azure Arc JumpStart
Deploy AKS cluster on Azure IoT Edge and connect it to Azure Arc using Terraform
This scenario allows us to see how Azure IoT Edge and Azure Arc services complement each other in an easy and simple way, providing mechanisms for AKS cluster operators to configure the fundamental components of an AKS cluster and apply policies by monitoring its supervision, through Azure Arc. Furthermore, from Azure IoT Edge, application operators can remotely deploy and manage workloads at scale with convenient ingest from the cloud and in a bi-directional way.
Note: Azure Kubernetes Service is now in preview on Azure IoT Edge. You can find more details about this service in the IoT Edge’s support for Kubernetes document
The following README will guide you on how to use the provided Terraform plan to deploy an Azure Kubernetes Service (AKS) cluster and connect it as an Azure Arc-enabled Kubernetes resource.
Prerequisites
Clone the Azure Arc Jumpstart repository
1git clone https://github.com/microsoft/azure_arc.gitInstall or update Azure CLI to version 2.25.0 and above. Use the below command to check your current installed version.
1az --versionCreate Azure service principal (SP)
To be able to complete the scenario and its related automation, Azure service principal assigned with the “Contributor” role is required. To create it, login to your Azure account run the below command (this can also be done in Azure Cloud Shell).
1az login
2az ad sp create-for-rbac -n "<Unique SP Name>" --role contributor
For example:
1az ad sp create-for-rbac -n "http://AzureArcK8s" --role contributorOutput should look like this:
1{
2"appId": "XXXXXXXXXXXXXXXXXXXXXXXXXXXX",
3"displayName": "AzureArcK8s",
4"name": "http://AzureArcK8s",
5"password": "XXXXXXXXXXXXXXXXXXXXXXXXXXXX",
6"tenant": "XXXXXXXXXXXXXXXXXXXXXXXXXXXX"
7}
Note: The Jumpstart scenarios are designed with as much ease of use in-mind and adhering to security-related best practices whenever possible. It is optional but highly recommended to scope the service principal to a specific Azure subscription and resource group as well considering using a less privileged service principal account
Enable subscription with the two resource providers for Azure Arc-enabled Kubernetes. Registration is an asynchronous process, and registration may take approximately 10 minutes.
1az provider register --namespace Microsoft.Kubernetes
2az provider register --namespace Microsoft.KubernetesConfiguration
3az extension add --name connectedk8s
4az extension add --name k8sconfiguration
You can monitor the registration process with the following commands:
1az provider show -n Microsoft.Kubernetes -o table
2az provider show -n Microsoft.KubernetesConfiguration -o table
Automation Flow
For you to get familiar with the automation and deployment flow, below is an explanation.
First bash script [edge_azure_vm.sh]((https://raw.githubusercontent.com/microsoft/azure_arc/main/azure_arc_k8s_jumpstart/aks_iot_edge/terraform/scripts/edge/edge_azure_vm.sh) - Used specifically for provisioning the necessary components in the VM to be able to deploy our “simulated” edge device:
- Download Install the required tools moby-engine
- Download & install the Azure aziot-edge
- Creation of a new configuration file for aziot-edge (/etc/aziot/config.toml)
Second bash script az_k8sconfig_helm_aks.sh Allow us to deploy our IoT Edge solution for AKS, configure our and associate our AKS cluster with Azure Arc, for this:
- Log in to Azure with Service Principal & Getting AKS credentials (kubeconfig)
- Associate our AKS with Azure Arc
- Create Namespace iotedge in AKS
- Generate a secret that contains the connection string of our edge device.
- Create Cluster-level GitOps-Config for deploying IoT Edge workload
Deployment
Before running the Terraform automation, you need to export the environment variables that will be used by the plan to customize your environment.
In addition, validate that the AKS Kubernetes version is available in your region using the below Azure CLI command.
1az aks get-versions -l "<Your Azure Region>"
In case the AKS service is not available in your region, you can change the AKS Kubernetes version in the variables.tf file by searching for kubernetes_version.
Export the environment variables needed for the Terraform plan.
1export TF_VAR_client_id=<Your Azure service principal App ID>
2export TF_VAR_client_secret=<Your Azure service principal App Password>
Note: If you are running in a PowerShell environment, to set the Terraform environment variables, use the Set-Item -Path env: prefix (see example below)
1Set-Item -Path env:TF_VAR_client_idRun the
terraform initcommand which will download the Terraform AzureRM provider.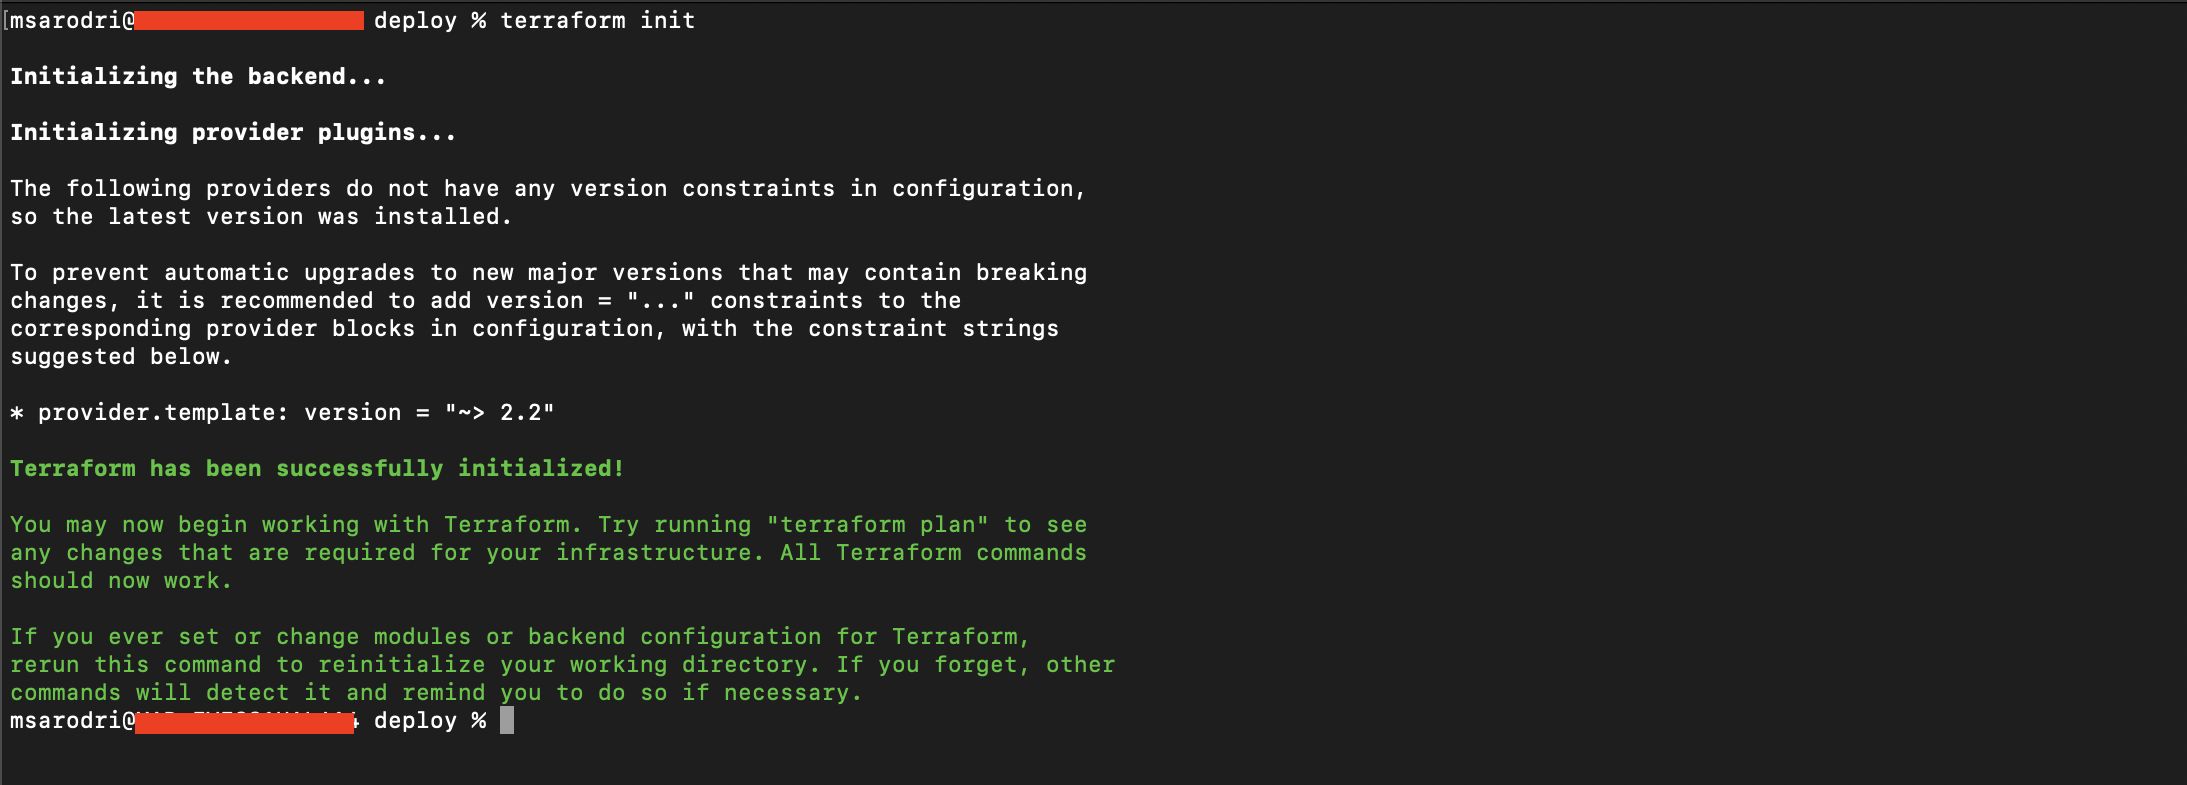
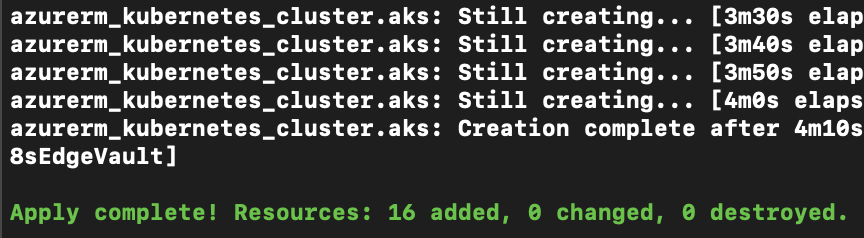
Run the ```terraform apply -auto-approve`` command and wait for the plan to finish.
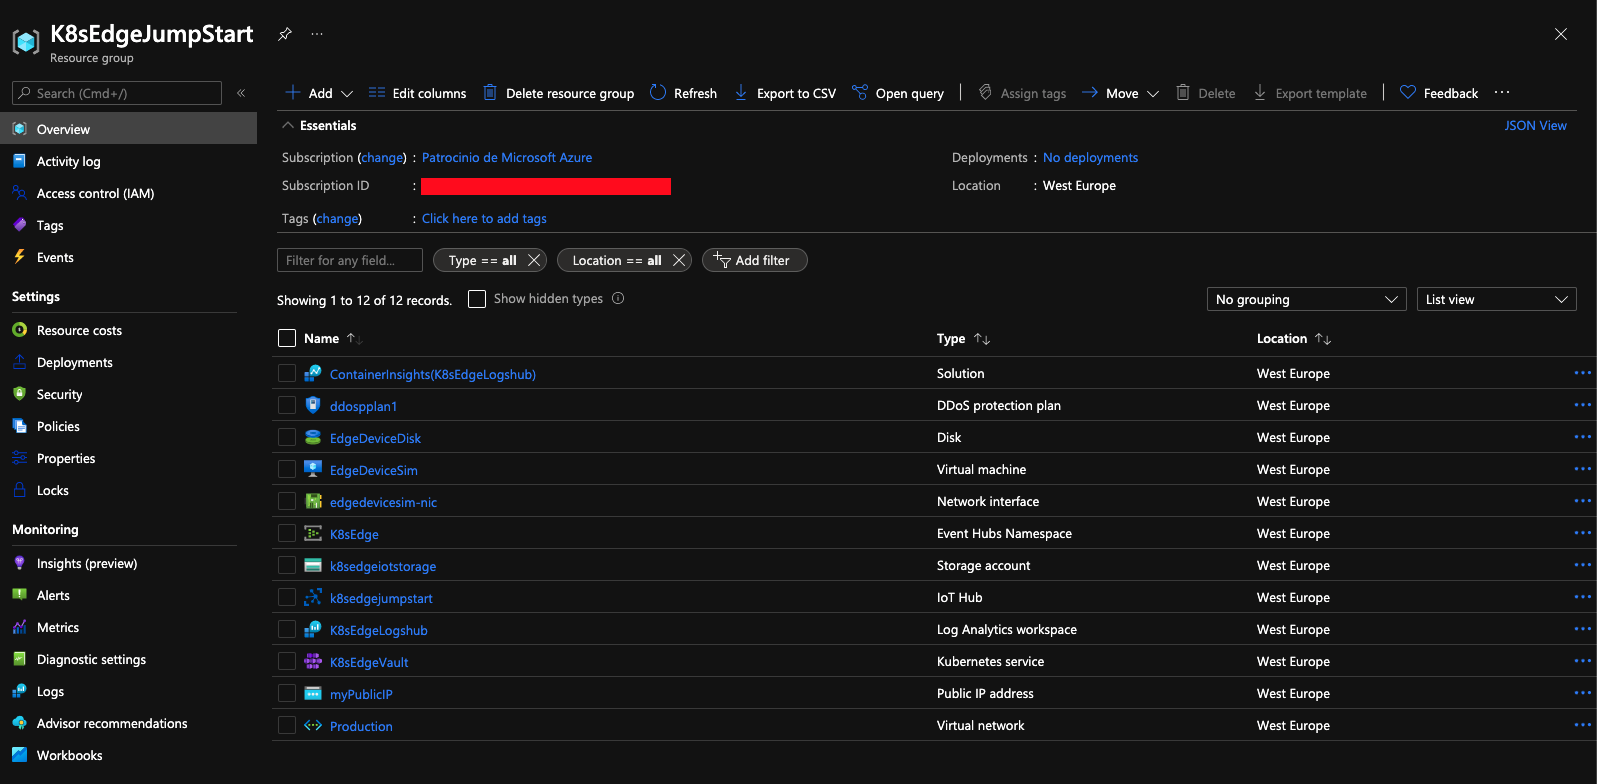
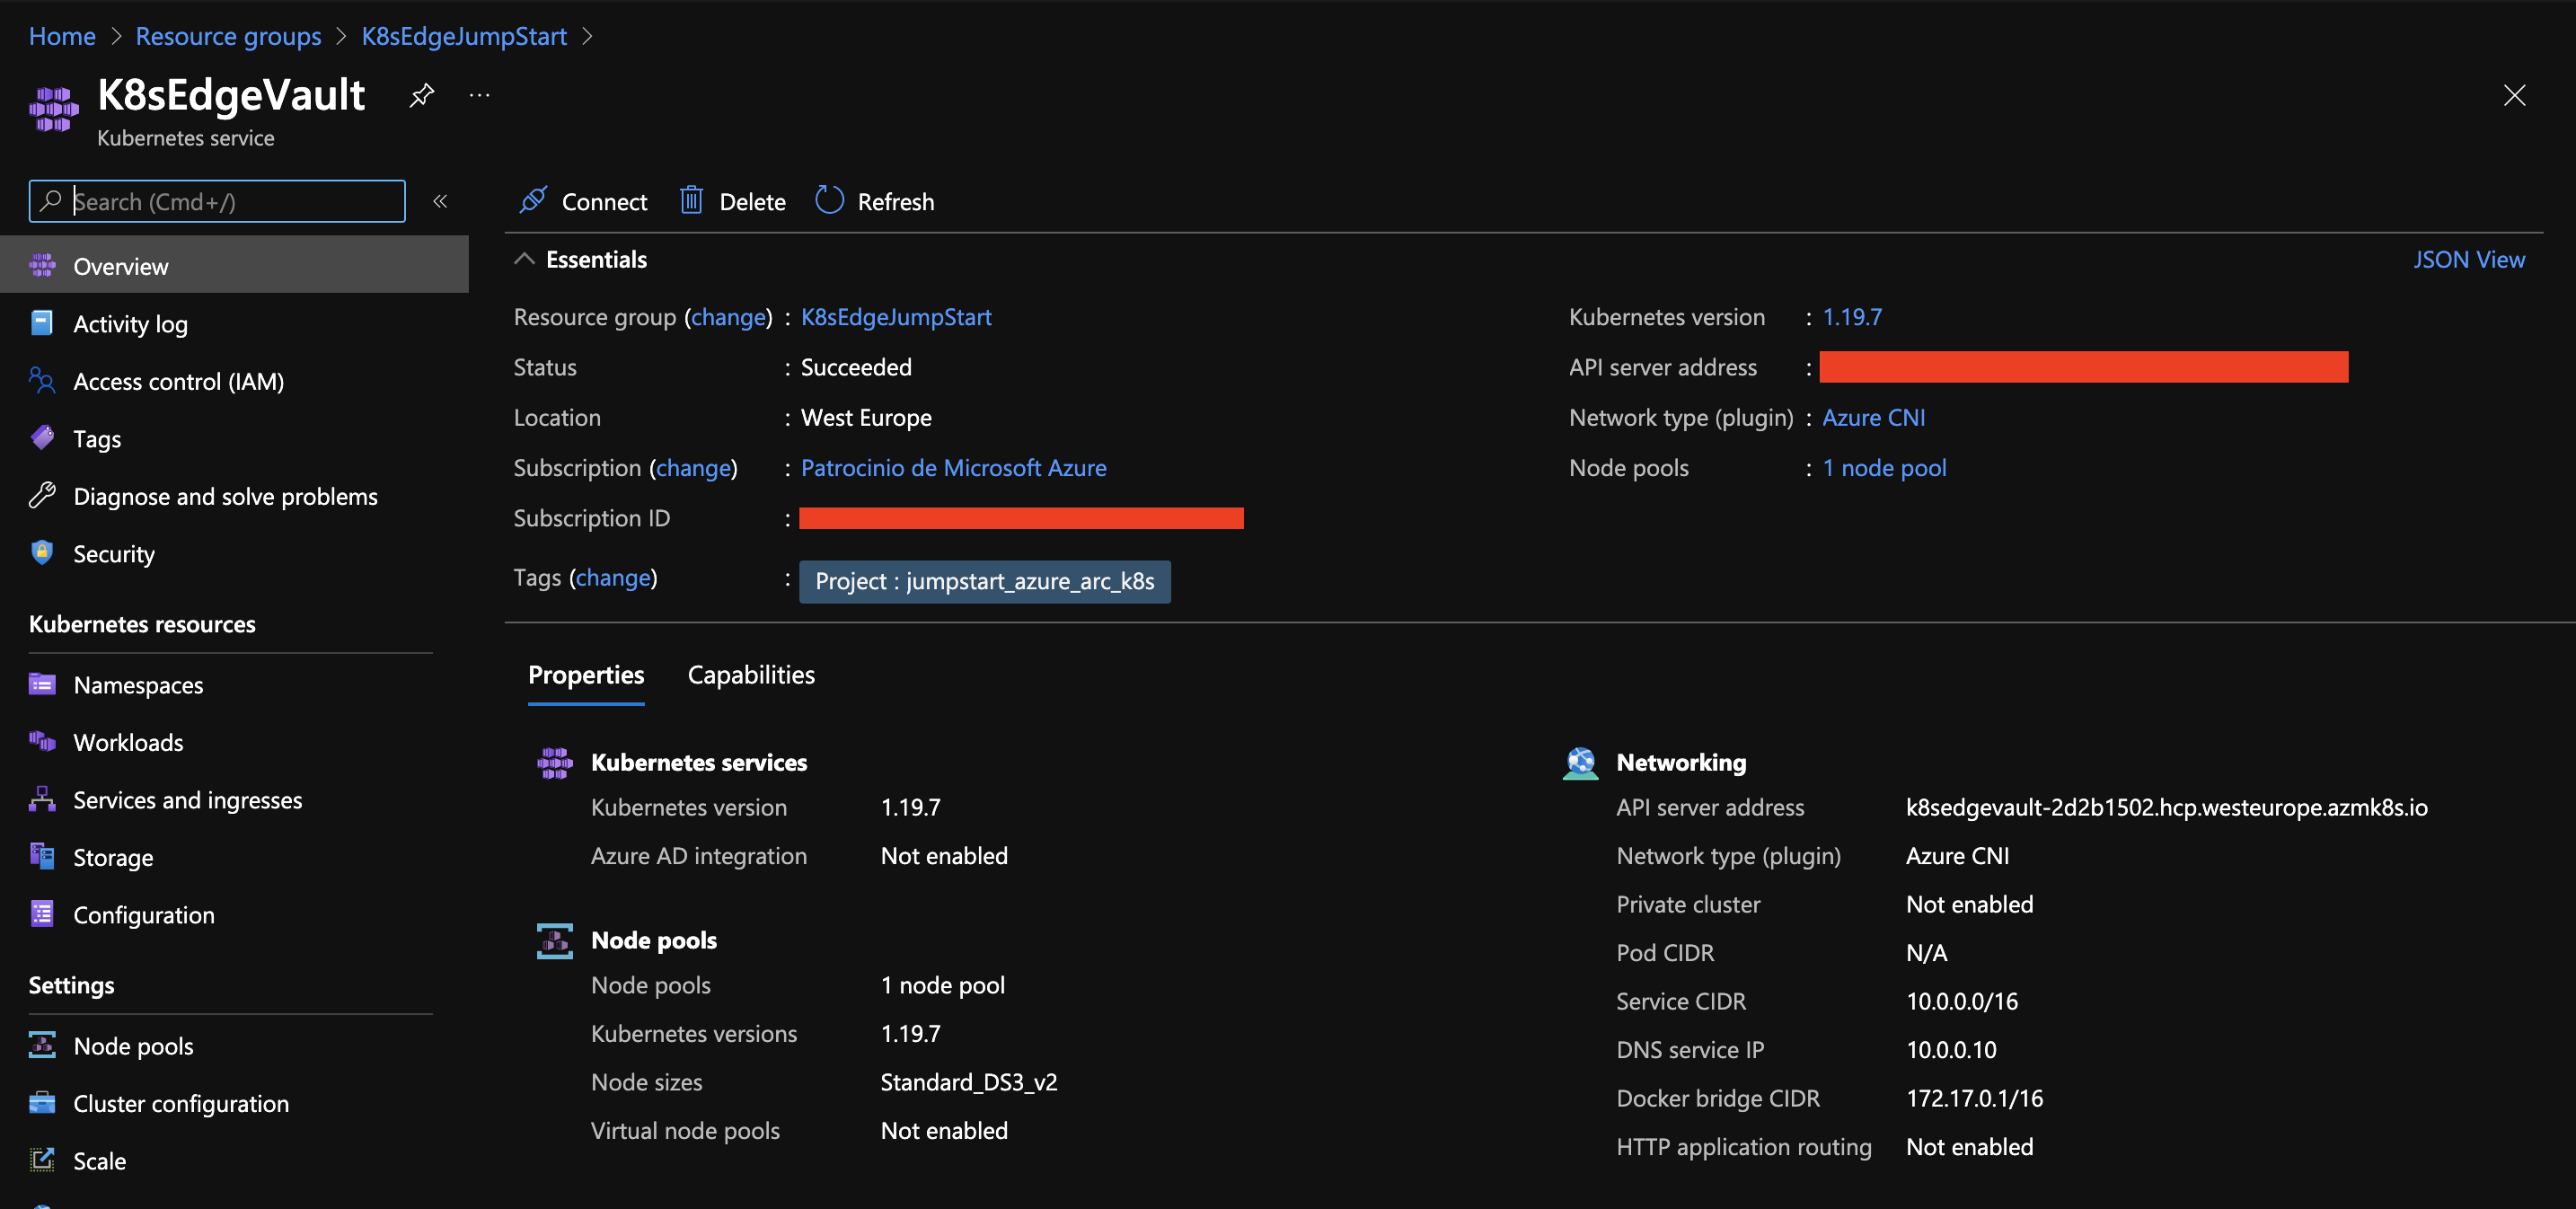
Once the Terraform deployment is completed, a new Resource Group and all services (Vnet, Subnets, VMs, IoT Hub, EventHub, AKS Cluster) are created.
In this scenario we will use a VM to “simulate” an IoT Edge device. To do this, we must register a new Edge device in our IoT Hub that we will later configure.
In order to keep your local environment clean and untouched, we will use Azure Cloud Shell (located in the top-right corner in the Azure portal) to run the next commands:

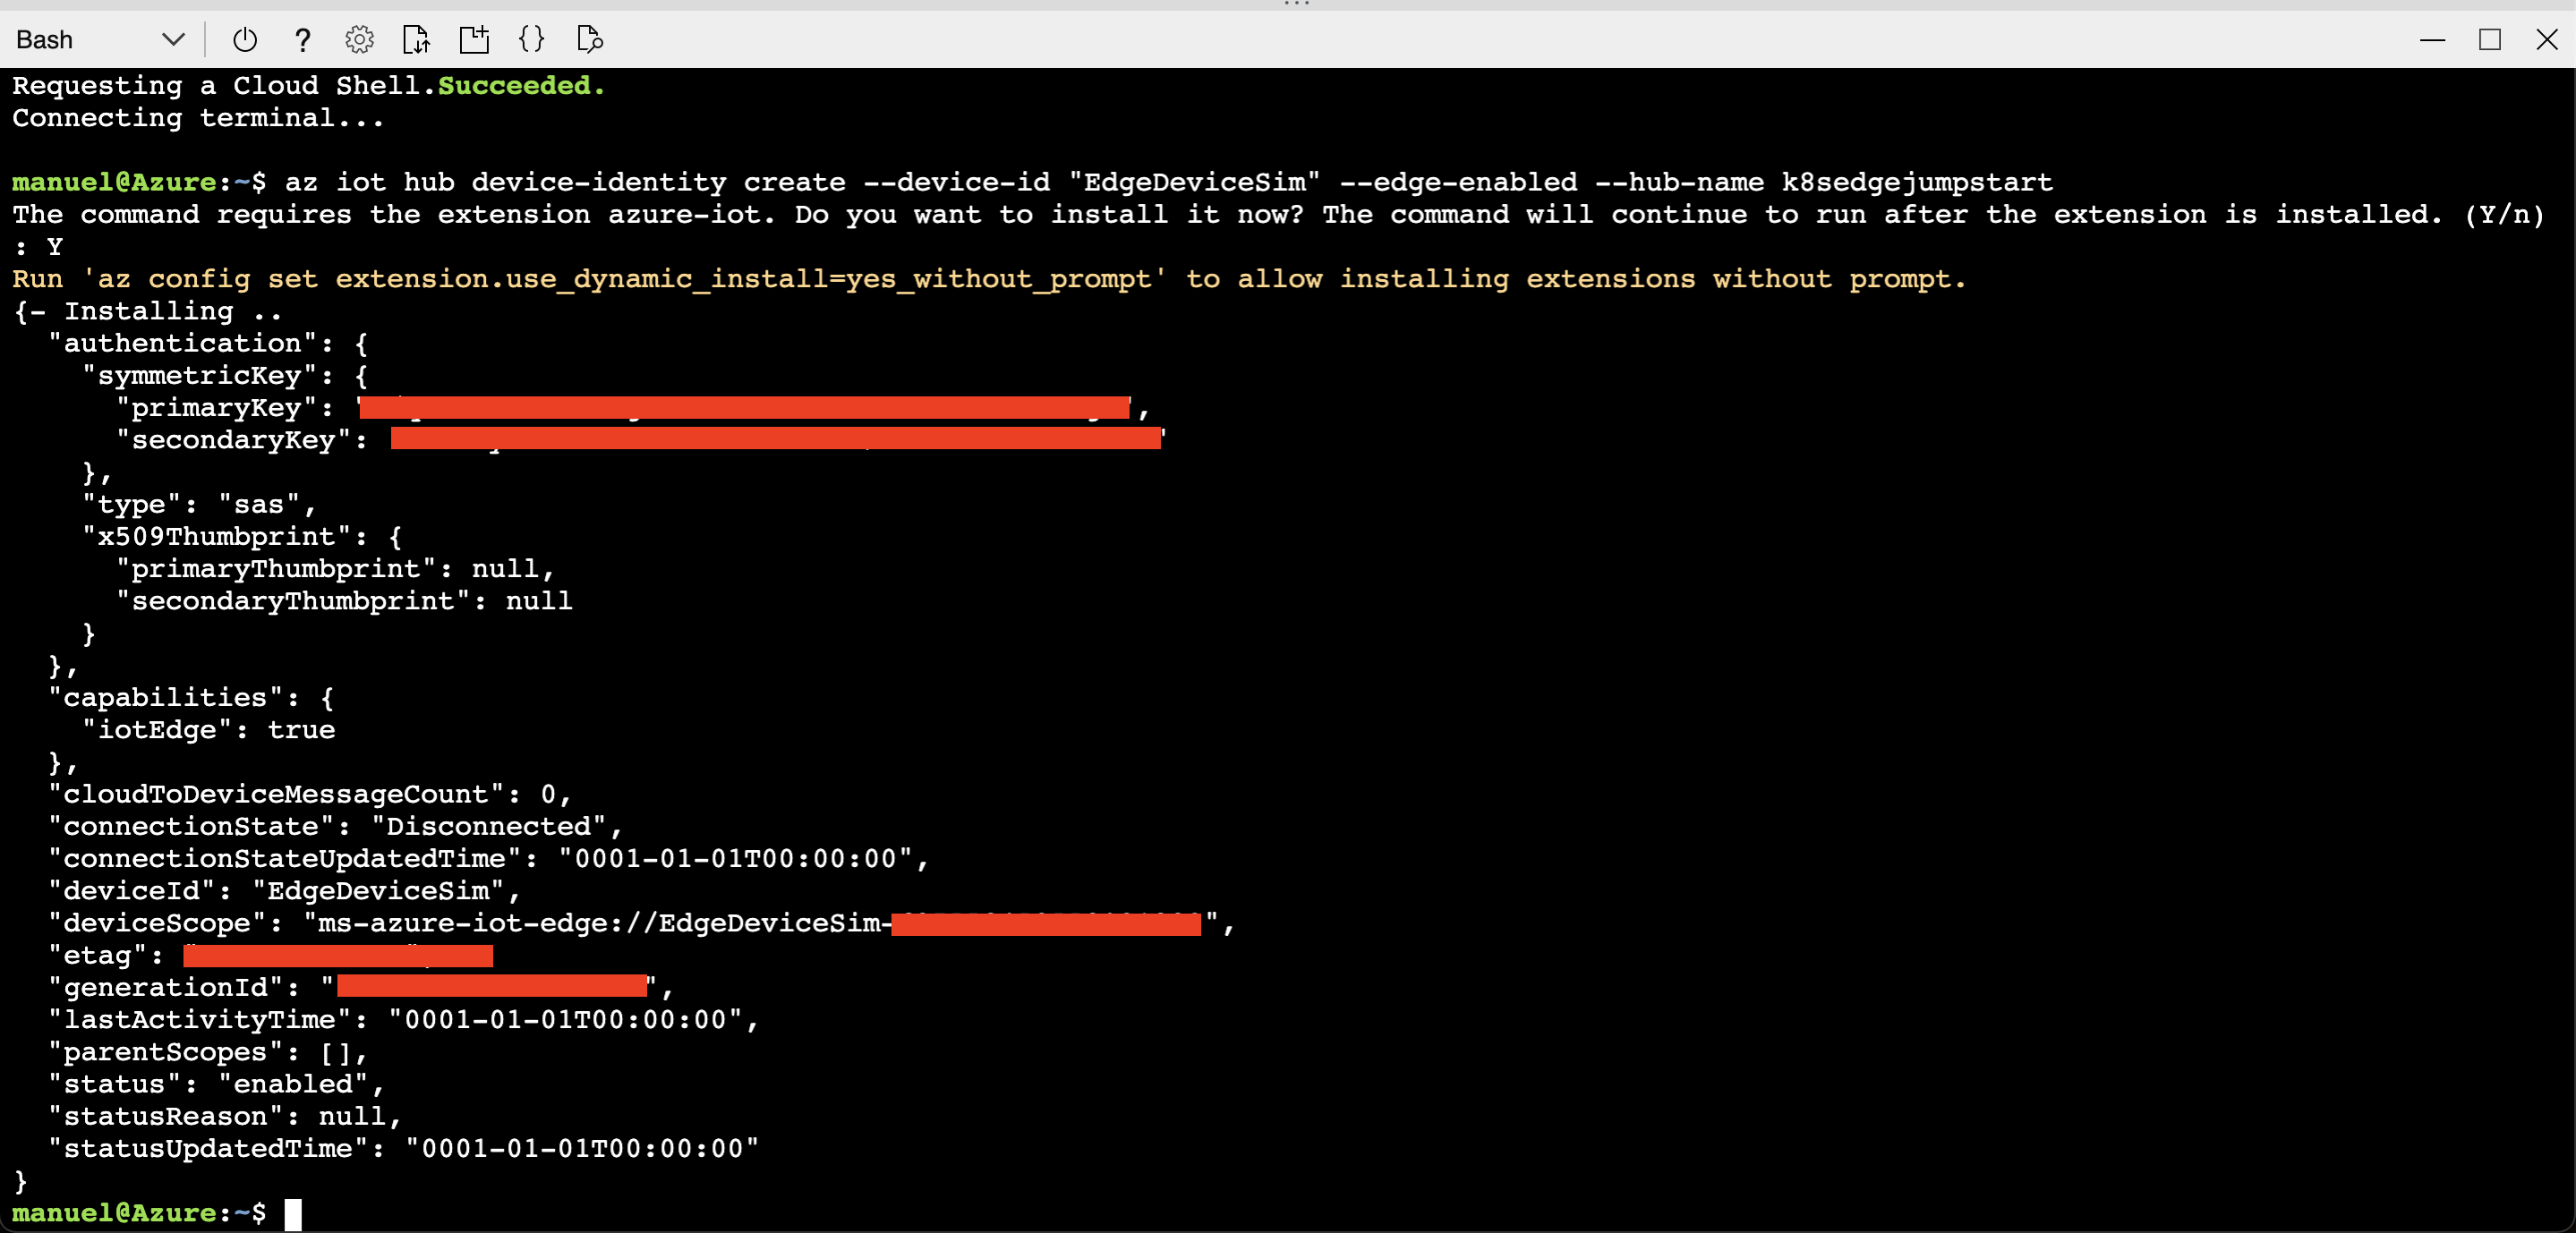
Create IoT Edge Device
1az iot hub device-identity create --device-id "EdgeDeviceSim" --edge-enabled --hub-name k8sedgejumpstart
- We will obtain the connection string of the new IoT Edge device to be able to make the link
1az iot hub device-identity connection-string show --device-id "EdgeDeviceSim" --hub-name k8sedgejumpstart

- Next, log into the deployment VM using your SSH credentials and edit the /etc/aziot/config.toml by replacing the connection string using the one we obtained in the previous step.
1# Manual provisioning with connection string
2[provisioning]
3source = "manual"
4connection_string = "<ADD DEVICE CONNECTION STRING HERE>"
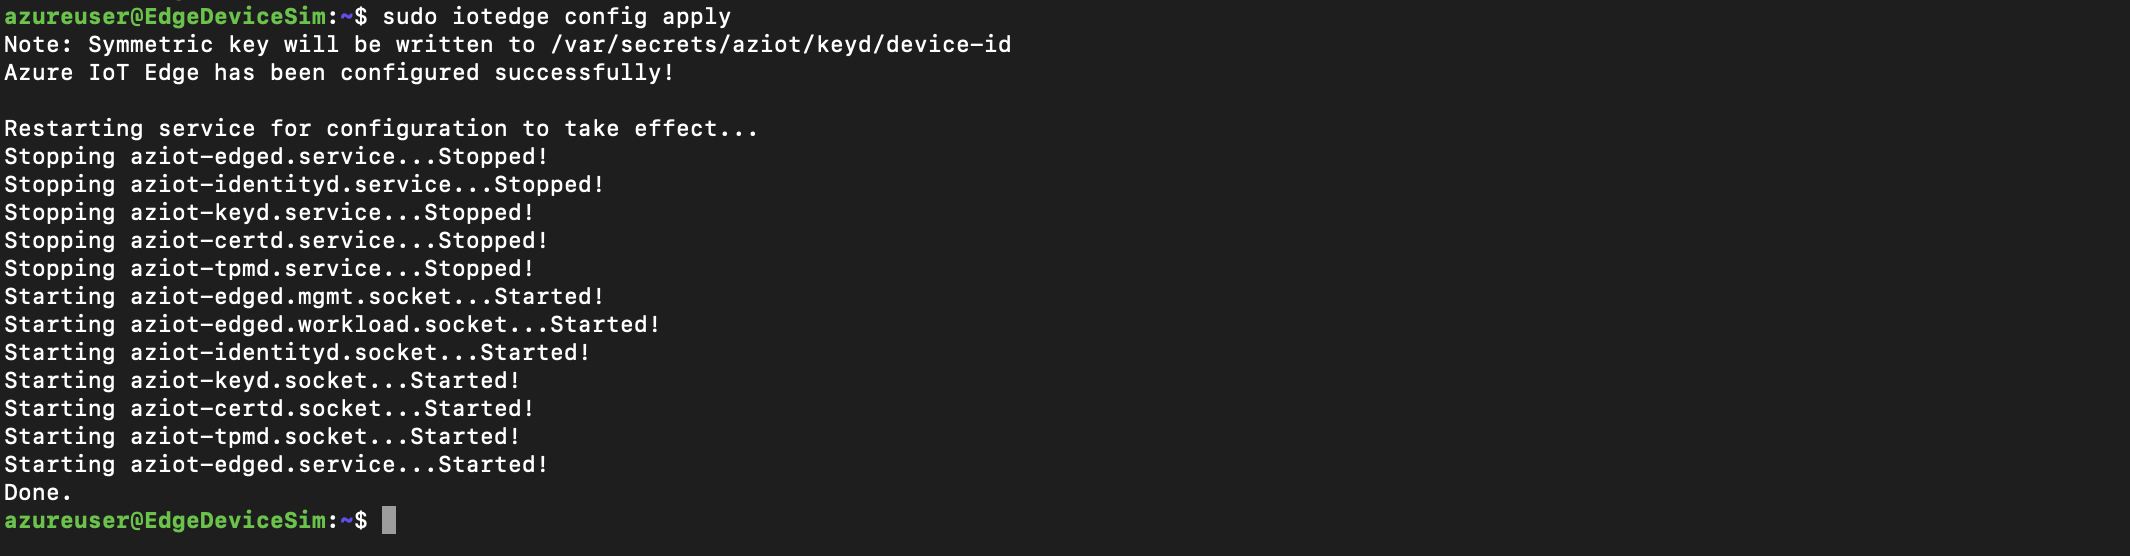
- In order to synchronize the configuration of the device that we have paired we must execute the following command:
1sudo iotedge config apply
- Once completed the above steps, return to the Azure Cloud Shell where we will assign to our new device a module to simulate a temperature sensor. For this we will upload the file through the Azure Cloud Shell interface:
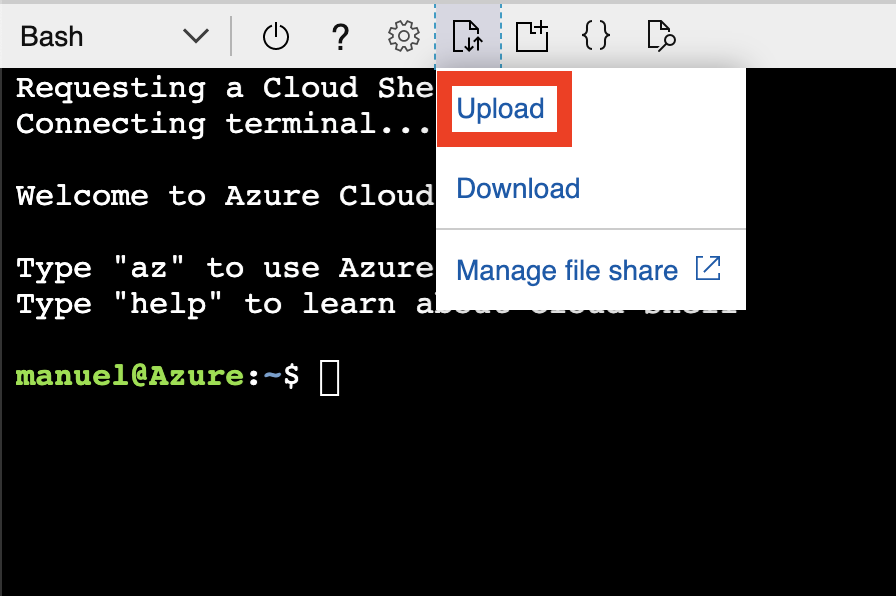
- Once the file is uploaded, execute the following command:
Note: You can see an example of the deployment.json file that we use.
1az iot edge set-modules --hub-name k8sedgejumpstart --device-id "EdgeDeviceSim" --content ./deployment.json
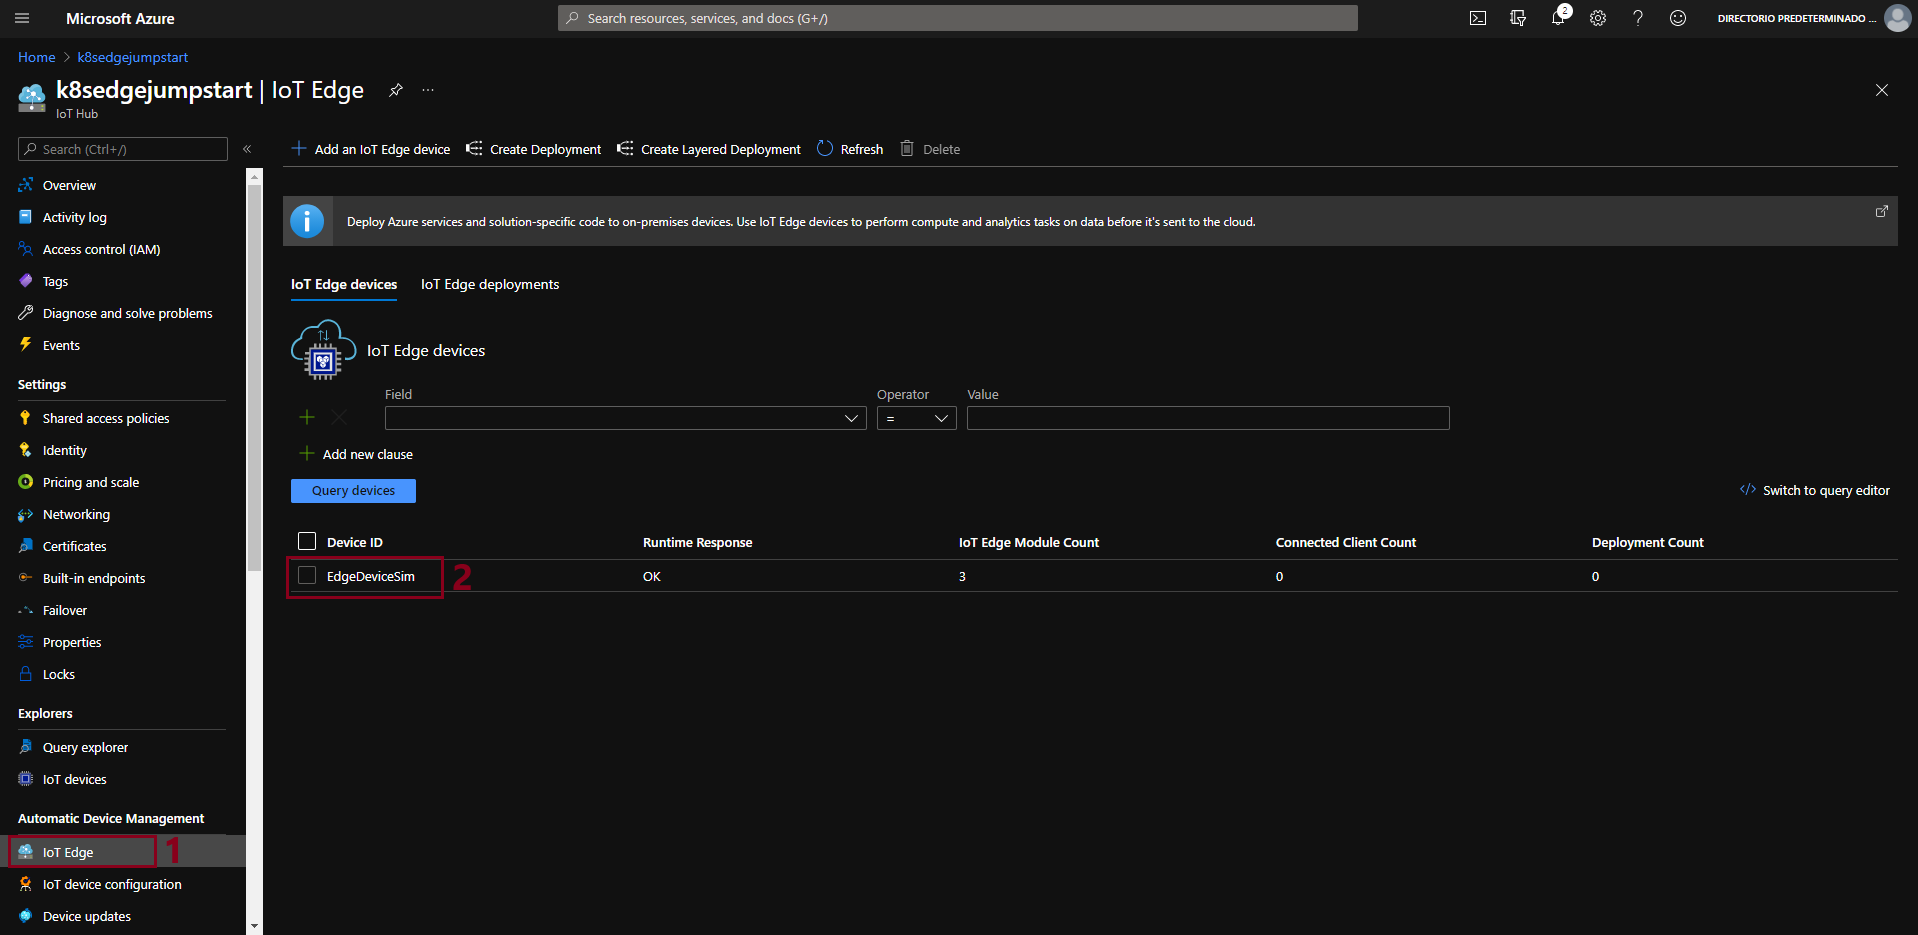
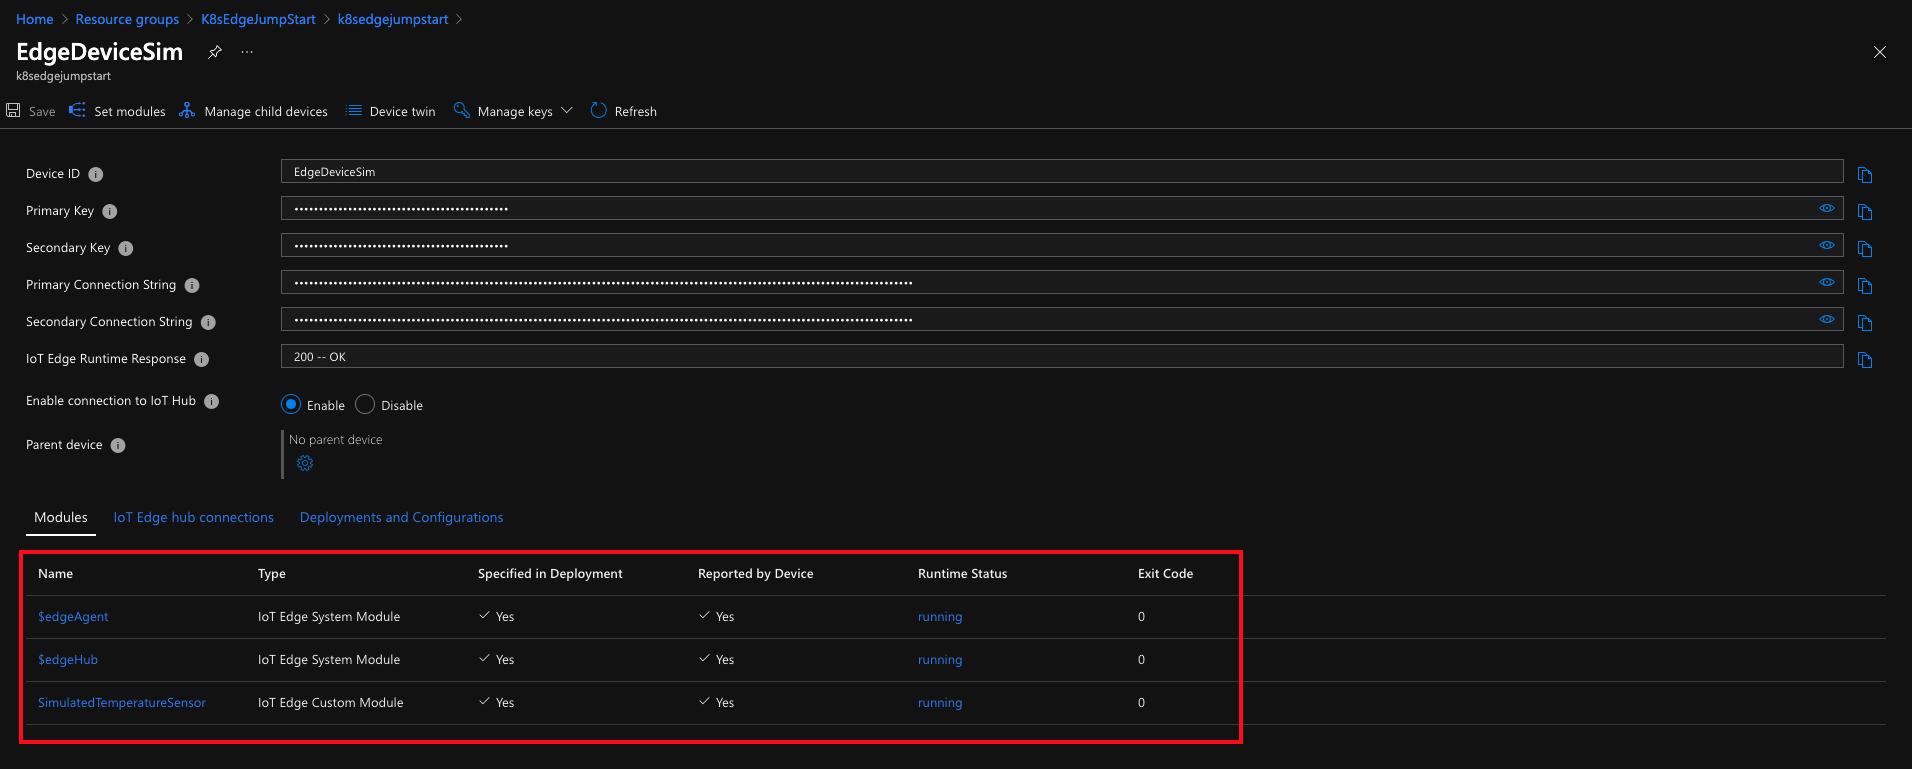
- From the Azure portal, select the IoT Hub instance under K8sEdgeJumpStart. By selecting our IoT Edge device, we can see all the information about the modules it is running and If everything has been successful we will see that the “SimulatedTemperatureSensor” module is running correctly.
- We can also check from the virtual machine itself the modules that are running at that moment, using the following command:
1sudo iotedge list

- Now download the values.yaml file for IoT Edge Helm chart and replace the deviceConnectionString placeholder at the end of the file with the connection string you noted earlier.
1# Manual provisioning configuration using a connection string
2provisioning:
3  source: "manual"
4  deviceConnectionString: "<ADD DEVICE CONNECTION STRING HERE>"
5  dynamicReprovisioning: false
- Edit the environment variables section in the included in the az_k8sconfig_helm_aks.sh shell script. As we did in the previous steps, upload the files to our Azure Cloud Shell.

- Once the script run has finished, the AKS cluster will be projected as a new Azure Arc-enabled Kubernetes resource. We will proceed to connect to our AKS cluster and in a couple of minutes you should see the workload modules defined in the edge deployment running as pods along with edgeagent and iotedged. We can use the following commands to check it:
1kubectl get pods -n iotedge
2kubectl logs -n iotedge <replace-with-iot-edge-pod-name> simulatedtemperaturesensor
Delete the deployment
The most straightforward way is to delete the Azure Arc-enabled Kubernetes resource via the Azure Portal, just select the Resource Group and delete it.
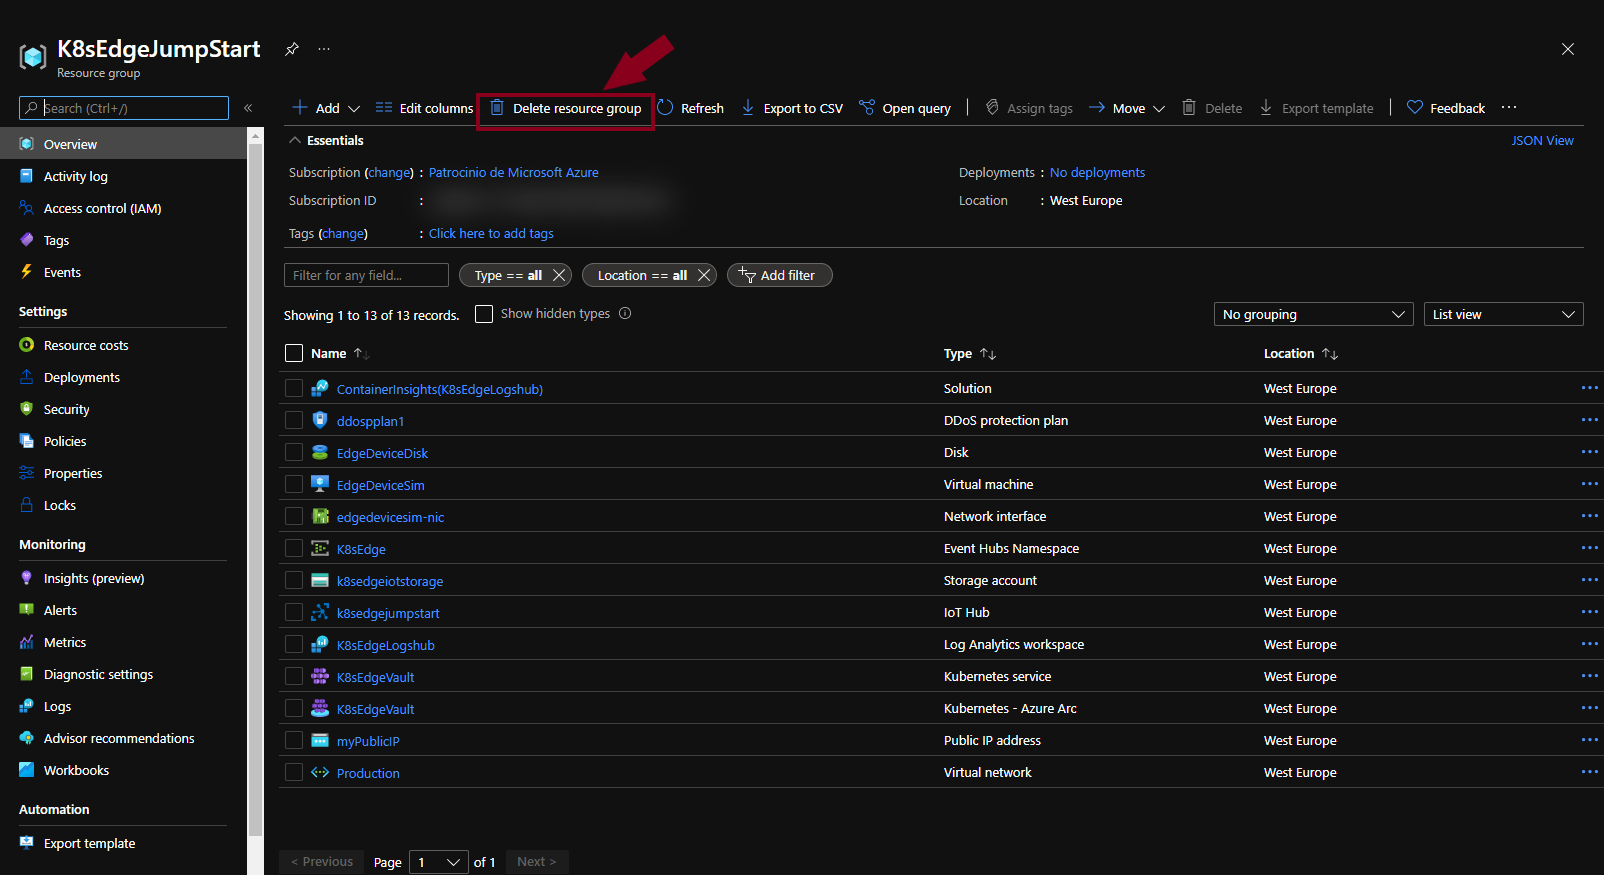
If you want to nuke the entire environment, delete both the AKS and the AKS resources resource groups or run the terraform destroy -auto-approve command.

Saludos!